Screw laboratory
Europe's most complete plant
How should a screw head actually be measured? Where is the thinnest part of the coating? What dimensions are not specified by a standard? Based on our quality policy –The Quest for the Zero Point– we have built one of Europe's most complete and advanced testing labs for fasteners. This enables continuous testing, validation, quality assurance, and product development so that you as a customer always achieve optimal joining.
We conduct tests and independent testing for companies, even for those who are not otherwise customers with us. If necessary, we cooperate with an accredited, independent laboratory company with specialised expertise.

Ackumulated knowledge in a reliable system
In addition to our equipment, we have built up an extensive knowledgebase through our documented inspection instructions. Over the years, Mattssons has tested millions of products and items, and we dare to say that we can systematically ensure the quality of our fasteners more than anyone else in the industry.
Examples of our equipment include:
600kN Tensile testing machine
Fatigue testing machine
Spectrometer
X-ray
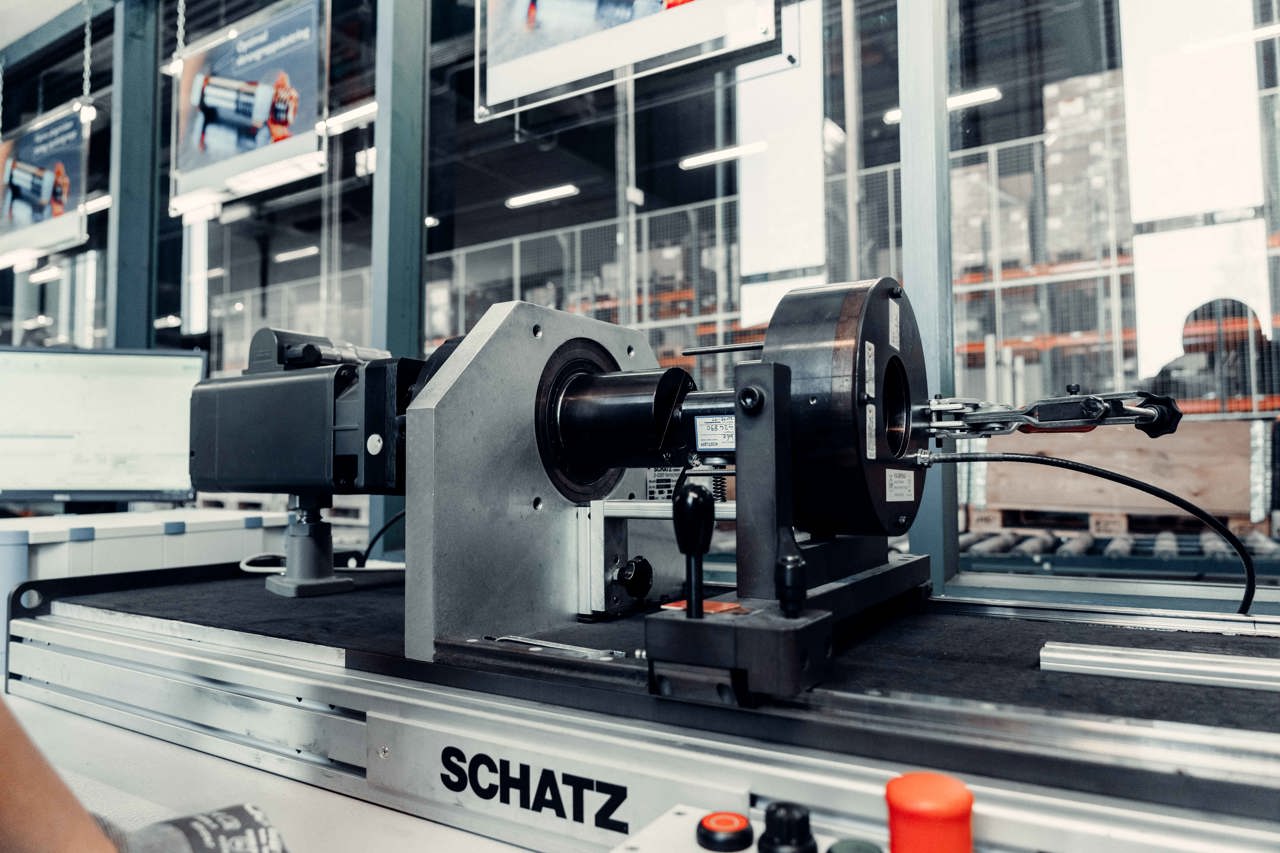
Shatz machine
Hardness tester
Surface-layer gauge
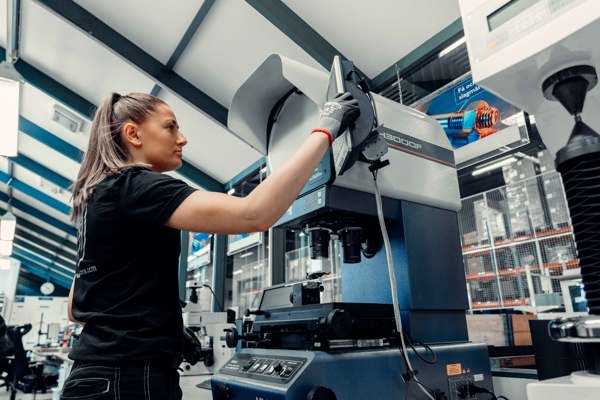
Profile projectors
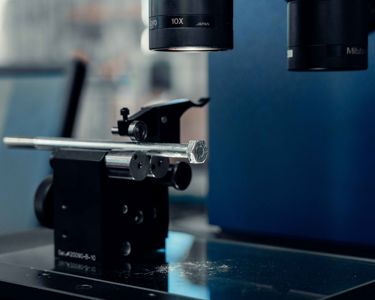
Measuring microscope
Screw pitch gauge
Pull and push test
Fatigue test
Material analysis of steel and stainless steel
Inspecting surface treatment layers
Friction tests and torque analysis
Hardness of HRC, HB and HV mm
Measures the roughness of the surface
Measures lengths, angles, radii, etc.
Allows detailed view of parts
Wide set-up for multiple threads

